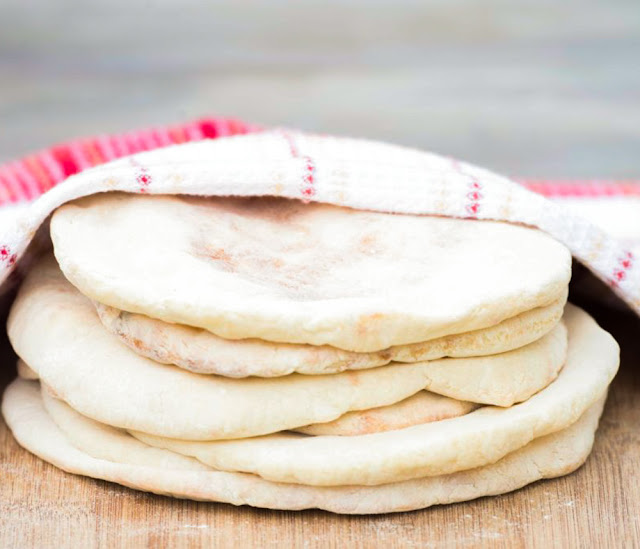
Pita Bread / Arabic Bread
Difficulty Level | Yields 8 medium-sized loaves
Pita bread / Arabic Bread or Lebanese bread, as some call it, plays a significant role in Lebanon and Middle East. A daily ritual and no meal is complete without it; it is eaten to scoop everything up with, yes a perfect accompaniment to almost all Lebanese and Middle Eastern food.
- Make sure to check the expiration date on the packet of the active dry yeast to ensure that it is active enough to use.
- I so advice to proof the yeast; proofing the yeast will help you ensure your yeast is alive. If the mixture foams then that is a sign you are on the right track.
- The dough needs to be kneaded well before rising; I would slam the dough a couple of times as seen in the video, yeasts like kneading! It helps in the developing of gluten.
- While stretching the dough, make sure to roll it into a circle with no incisions or torn dough to keep from creating a weak point that may prevent the pita from puffing up.
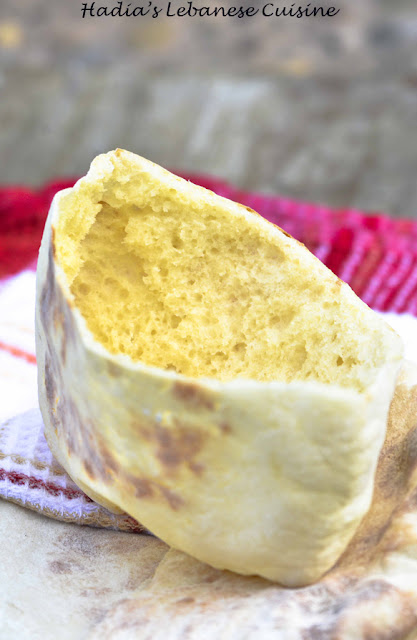
- Like all yeasted bread, pita needs to be baked at high temperature, the warmer the temperature the more active the yeast will be and the more the pita will puff up while baking and the pocket will be created by steam.
- Allow the bread loaves to cool completely then store covered for two days or freeze for 1 month.
3 1/2 cups all-purpose flour
1 1/2 tablespoons active dry yeast
2 tablespoons sugar
2 teaspoons salt
1 ½ cups warm water
Directions:
1. In a bowl, sift the flour and add salt.
2. In a large bowl, mix the active dry yeast, sugar and ¼ cup of lukewarm water (save the rest of water for kneading), let it sit for 5-8 minutes, or until yeast becomes frothy.
3. Add the flour to the dissolved yeast, and slowly add the remaining water.
4. Knead the dough with your hands or a stand mixer, (I prefer the hand method) until you have malleable dough of one texture. Add a small amount of flour, as needed, to keep the dough from sticking to your hands. Knead and beat the dough for further 5 more minutes (the dough has to be kneaded and kneaded well; it has to be considerably wet but definitely dryer than a batter). For better results, slam the dough a couple of times as seen in the video. This will help the gluten to develop and the texture will become fluffier.
5. Transfer the dough to a clean bowl, cover with a kitchen towel and let it sit for 20-25 minutes to double in size.
6. Preheat the oven to 230 °C /450°F.
7. When the dough has doubled in size, sprinkle some flour on a countertop and knock it back; divide it into 8 even-sized portions and gather each into a ball. Cover with a kitchen towel, and set aside to rest for 15 minutes.
8. On a floured countertop, stretch each ball, using a rolling pin, into a circle about 8 inches/ 20 cm in diameter and a bit less than ¼ inch thick. Make sure to roll it into a pretty circle with no incisions or torn dough to keep from creating a weak point that may prevent the pita from puffing up.
9. Preheat the sheet pan before lining it with parchment paper and delicately transfer one dough round at a time onto the parchment lined sheet pan.
10. Bake about 6- 8 minutes, until the dough is puffed up and baked to pale golden; they bake very fast. Happy eating!!
Recipe By Hadias Cuisine


Post a Comment